Back First Aid Explained
How to Treat a Bullet Wound
We have selected the following expert medical opinion based on its clarity, reliability and accuracy. Credits: Sourced from wikiHow. Please refer to your own medical practitioner for a final perspective, assessment or evaluation.
Overview
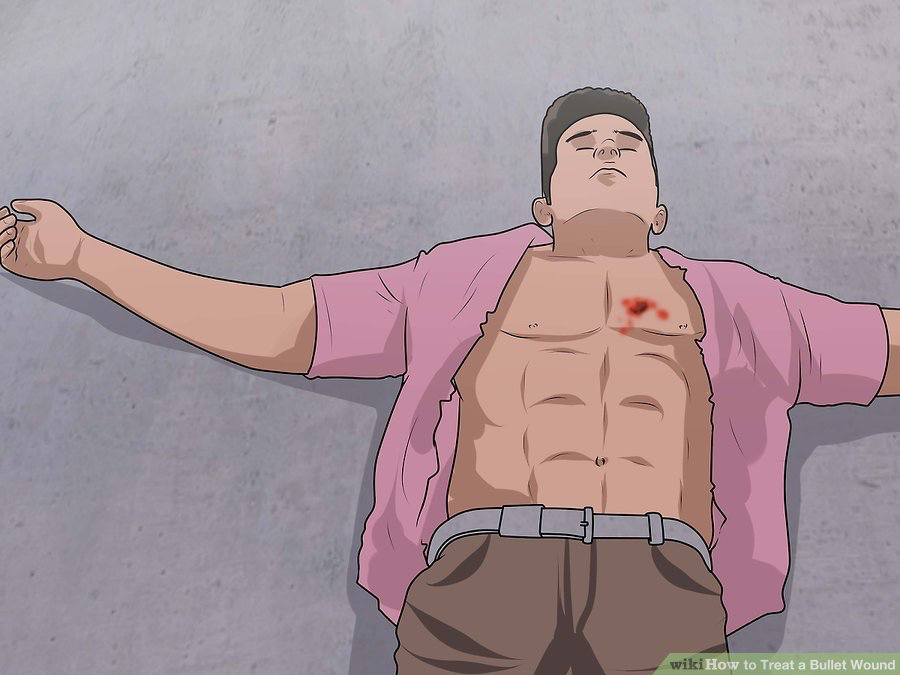
Gunshot wounds are one of the most traumatic injuries you can suffer. It's difficult to assess the extent of damage done by a gunshot wound, and it typically far exceeds what you can reasonably treat with first aid. For this reason, the best option is to get the victim to a hospital as soon as possible. However, there are some first aid measures that you can take before professional assistance arrives.
Part 1: Providing Basic First Aid
1. Establish that you are in a safe position
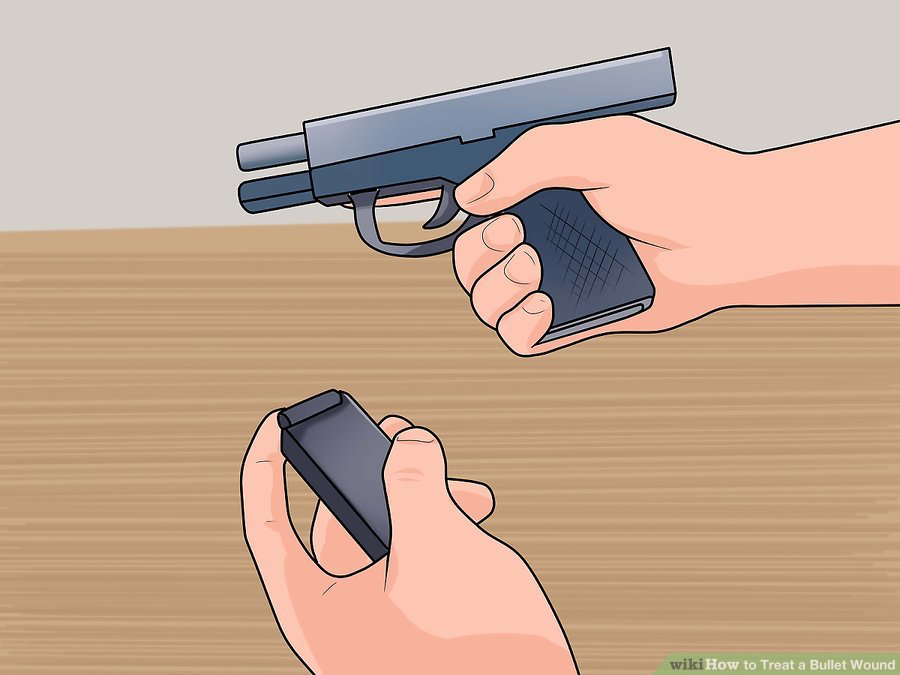
If the victim was shot unintentionally (e.g., while hunting), make sure that everyone's firearm is pointed away from others, cleared of ammo, safe, and secured. If the victim was shot in a crime, verify that the shooter is no longer on the scene and that both you and the victim are safe from further injury. Wear personal protective equipment, such as latex gloves, if available.
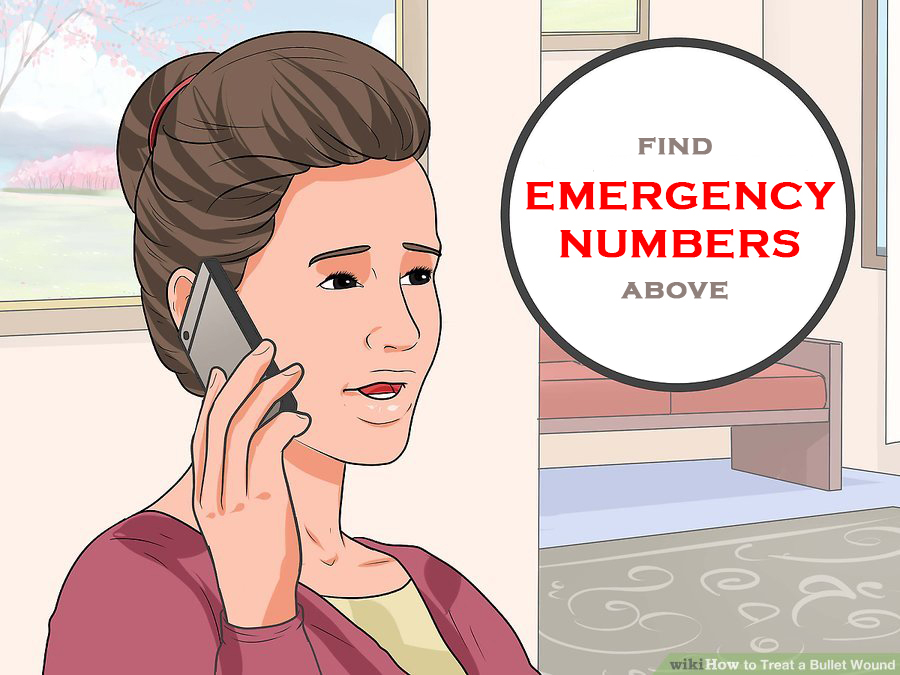
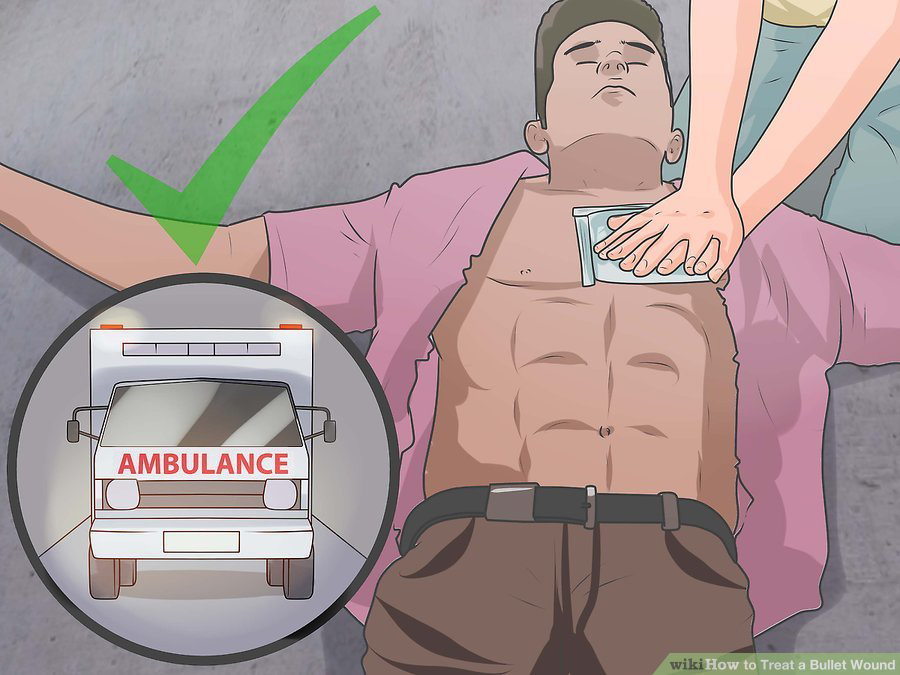
2. Call for help (see "EMERGENCY NUMBERS" above)
Dial emergency services for emergency medical assistance (see "EMERGENCY NUMBERS" above). If you are calling from a cell phone, be certain that you can provide the operator with your location. The operator will have difficulty locating you otherwise.
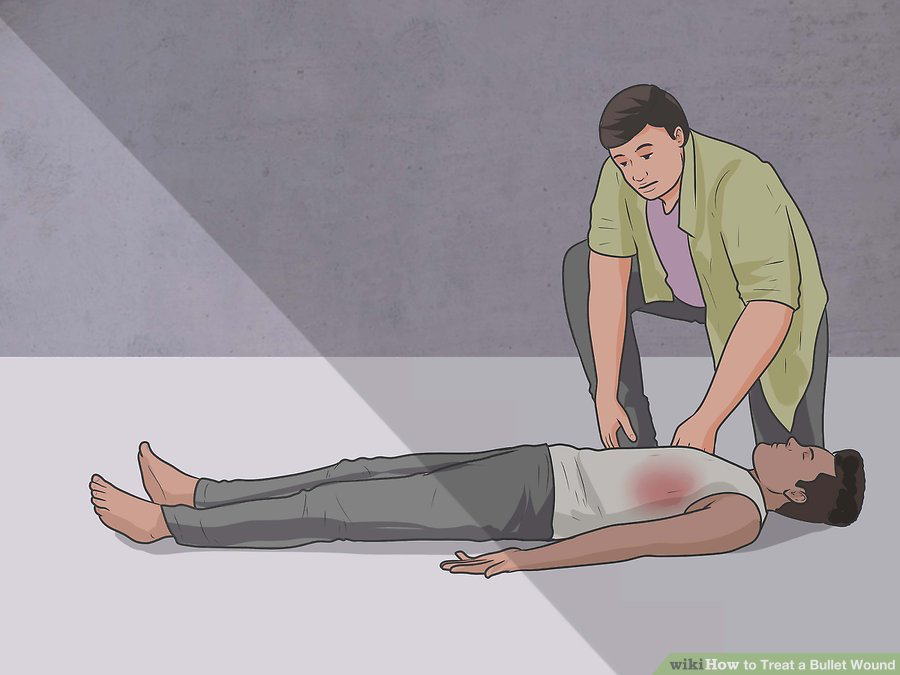
3. Keep the victim in place
Do not move the victim unless you must do so to keep him safe or access care. Moving the victim could aggravate a spinal injury. Elevating the wound can limit bleeding, but should not be considered unless you are confident that there is no spinal injury.
4. Act quickly
Time is your enemy in treating the victim. Victims who reach medical facilities during the "Golden Hour" have a much better likelihood of surviving. Try to keep your movements swift without making the person feel more upset or panicked.
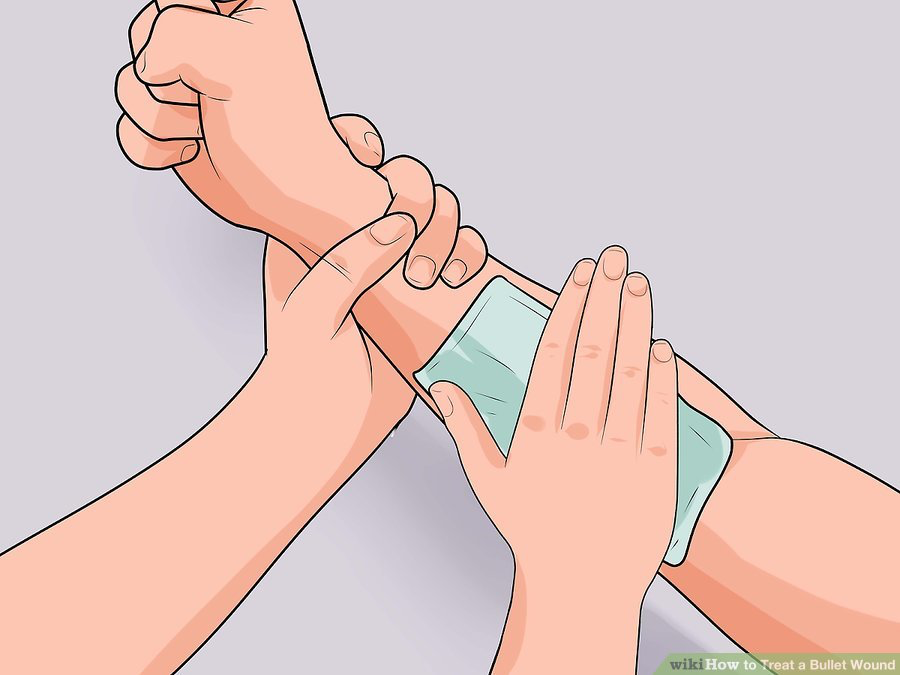
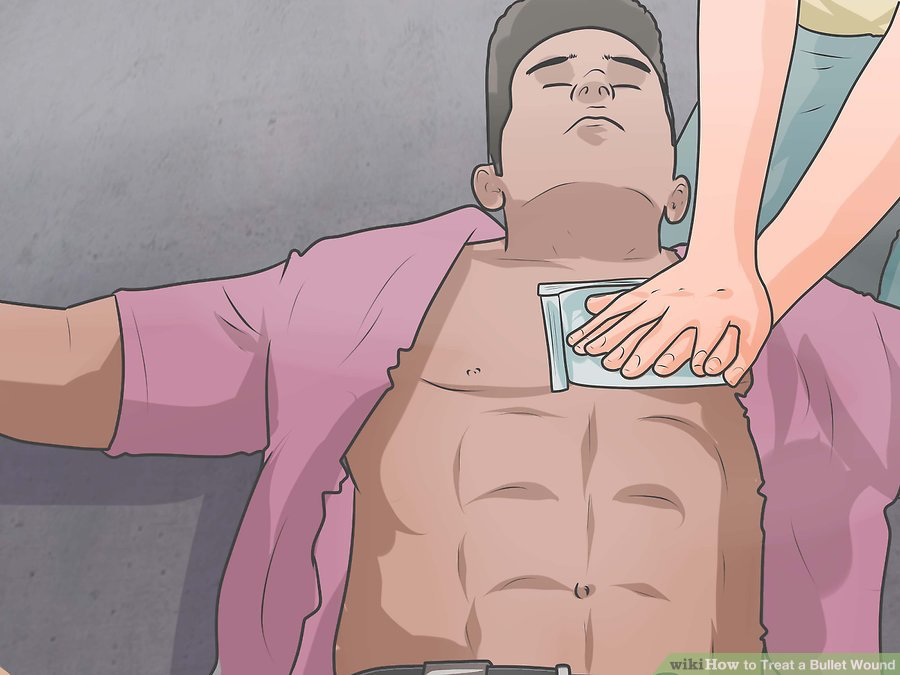
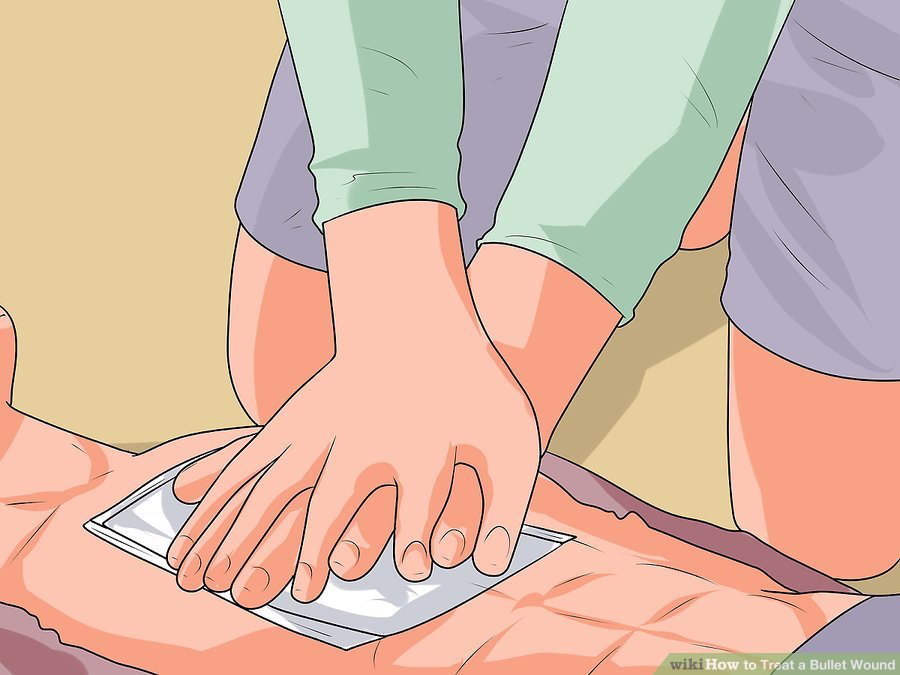
5. Apply direct pressure to bleeding
Take cloth, bandage, or gauze and press directly against the wound using the palm of your hand. Continue for at least ten minutes. If bleeding does not stop, check the location of the wound and consider re-positioning yourself. Add new bandages over the old; do not remove bandages when they become soaked.
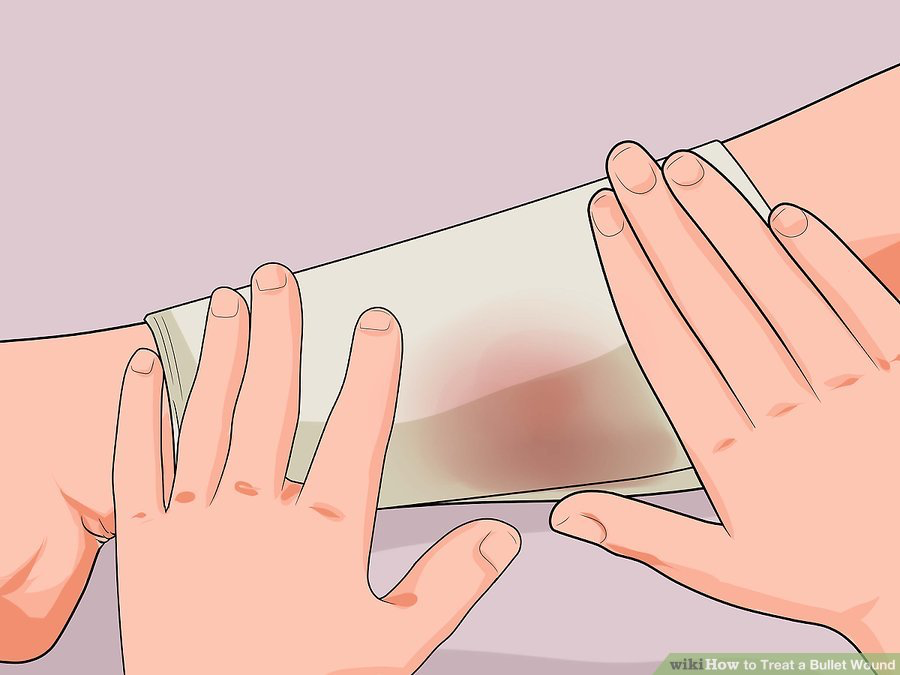
6. Apply dressing
If the bleeding subsides, apply cloth or gauze to the wound. Wrap it around the wound to apply pressure. Do not, however, wrap so tightly that the victim loses circulation or feeling in her extremities.
7. Be prepared to treat the victim for shock
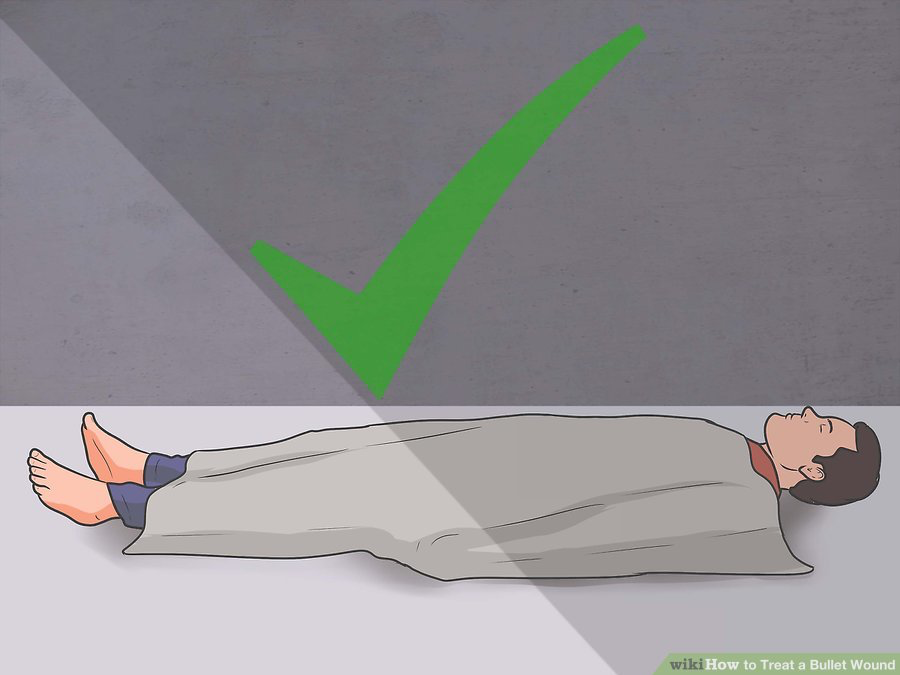
Gunshot wounds frequently lead to shock, a condition caused by trauma or loss of blood. Expect that a gunshot victim will show signs of shock and treat them accordingly by making sure the victim's body temperature remains consistent ? cover the person so that he does not get cold. Loosen tight clothing and drape him in a blanket or coat. Typically you would want to elevate the legs of someone experiencing shock, but refrain from doing so if they might have a spinal injury or a wound in the torso.
8. Give reassurance
Tell the person that she's okay and that you're helping. Reassurance is important. Ask the person to talk to you. Keep the person warm.
- If possible, ask the person about any medications she is taking, any medical conditions (i.e. diabetes, hypertension), and any drug allergies she may have. This is important information and may distract her from her wound.
9. Stay with the person
Continue to reassure and keep the victim warm. Wait for the authorities. If the blood congeals around the bullet wound, do not remove blood mats on wound, as this is acting to stopper the blood and prevent any more from flowing out.
Part 2: Assessing the Victim's Status
1. Remember the A, B, C, D, E's
For advanced treatment it is important to consider the status of the person. A, B, C, D, E is an easy way to remember the important factors you should consider. Assess these five critical factors to see what sort of assistance the victim requires.
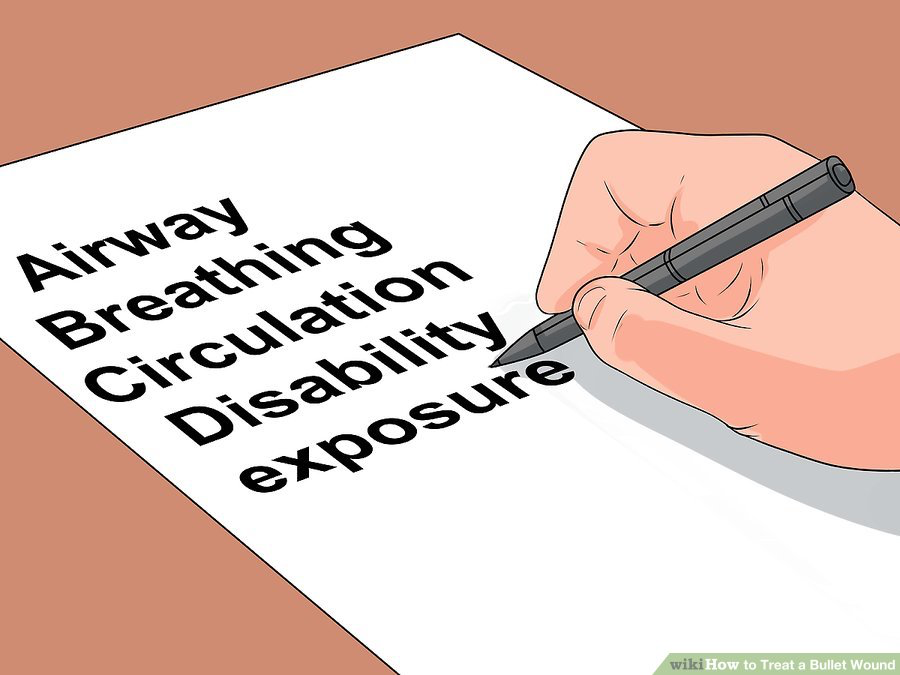
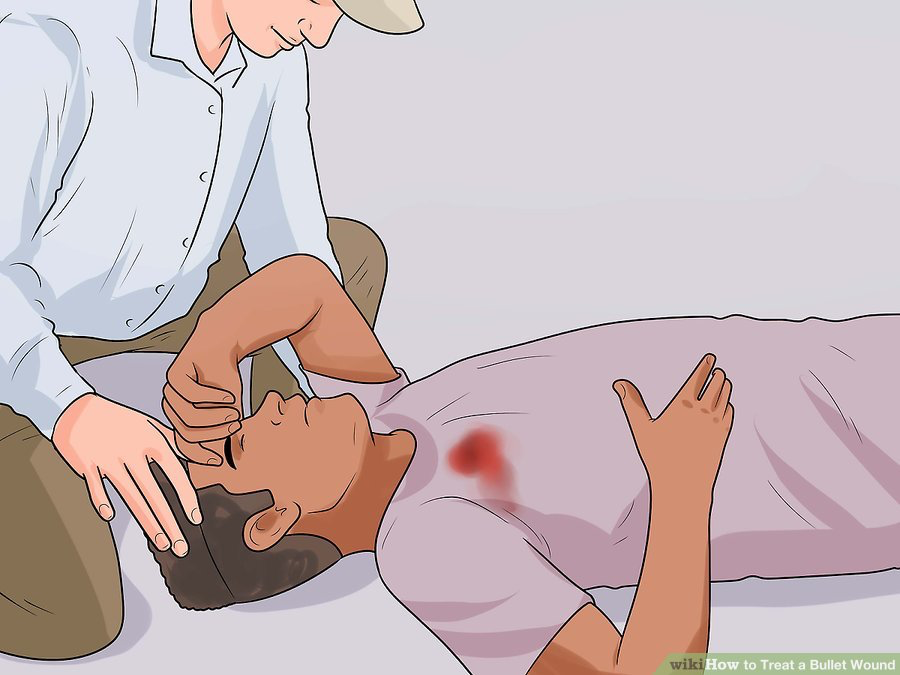
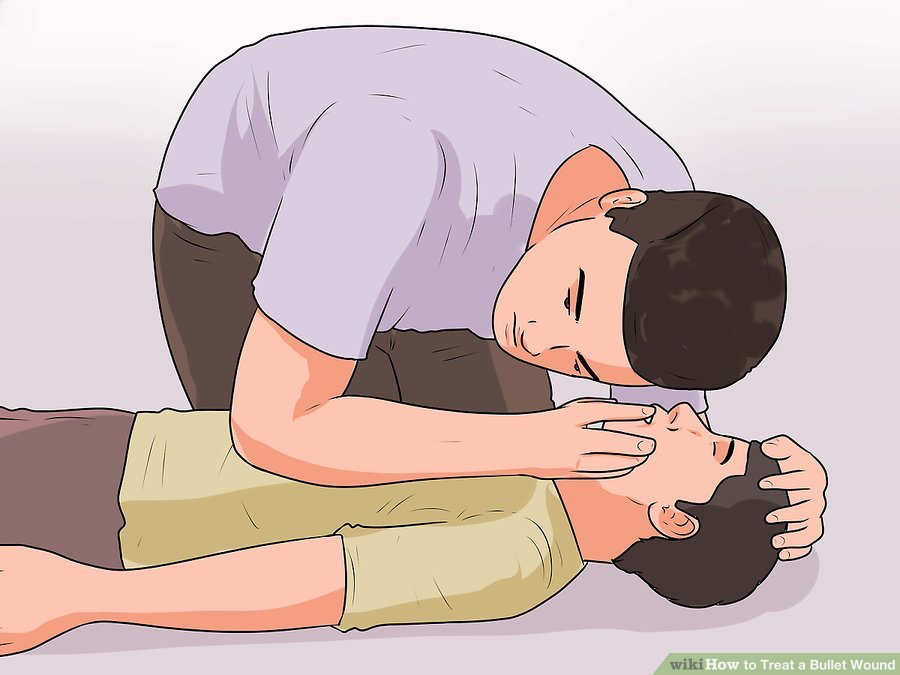
2. Check the airway
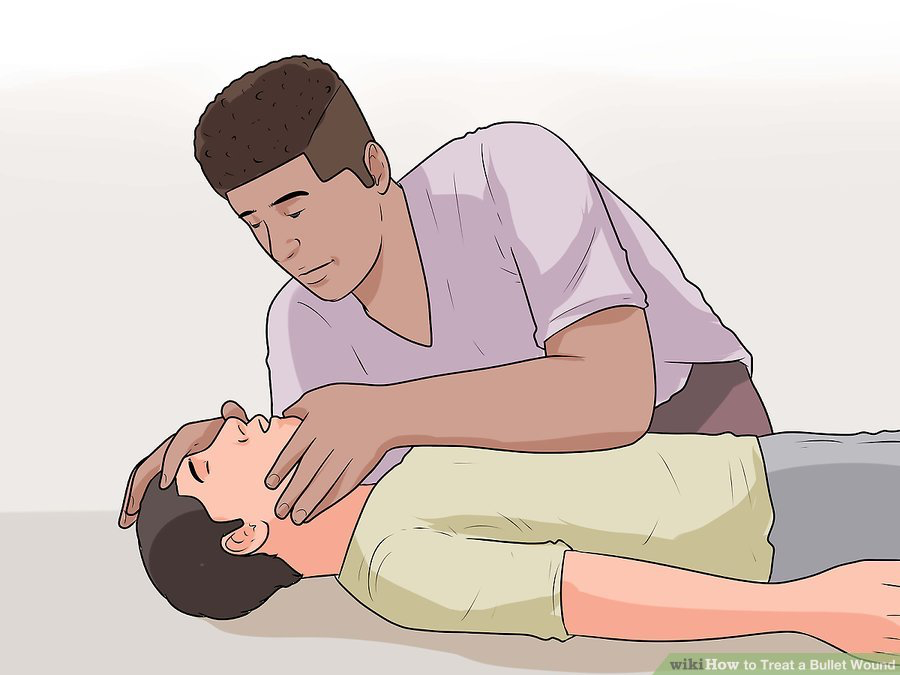
If the person is talking, his airway is probably clear. If the person is unconscious, check to make sure that his airway is not obstructed. If it is and there is no spine injury, perform a head tilt.
- Apply gentle pressure to the forehead with the palm of one hand, while placing the other under the chin and using it to tilt the head back.
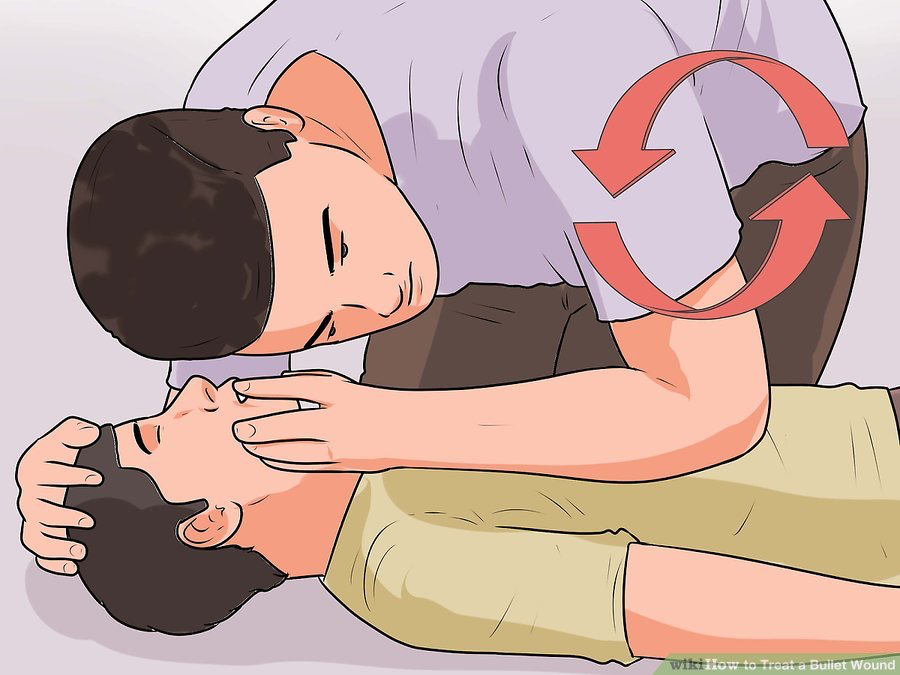
3. Monitor breathing
Is the victim taking regular breaths? Can you see her chest rising and falling? If the victim is not breathing, sweep her mouth for obstructions and start rescue breathing immediately.
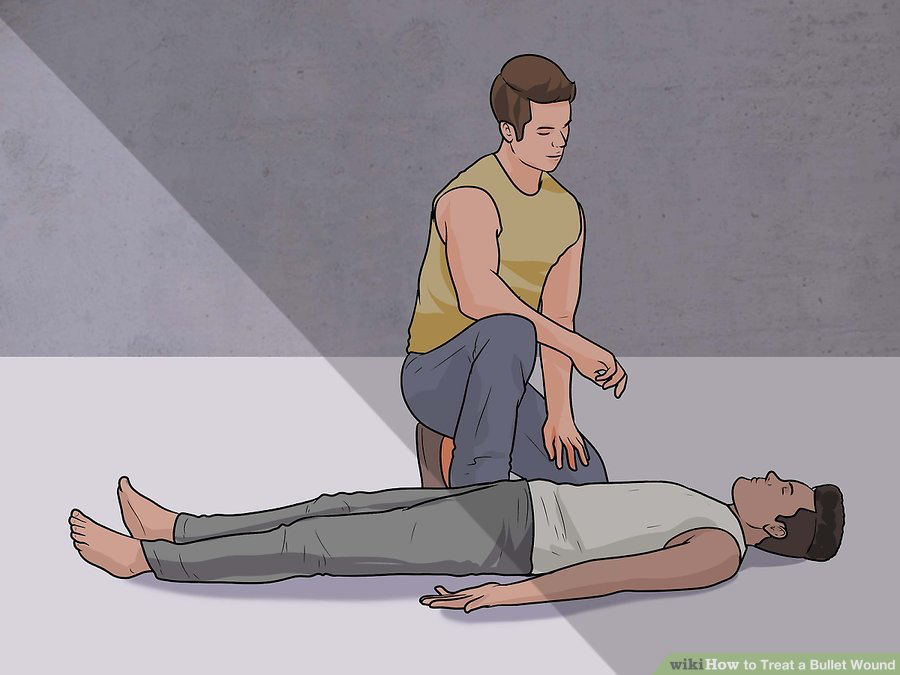
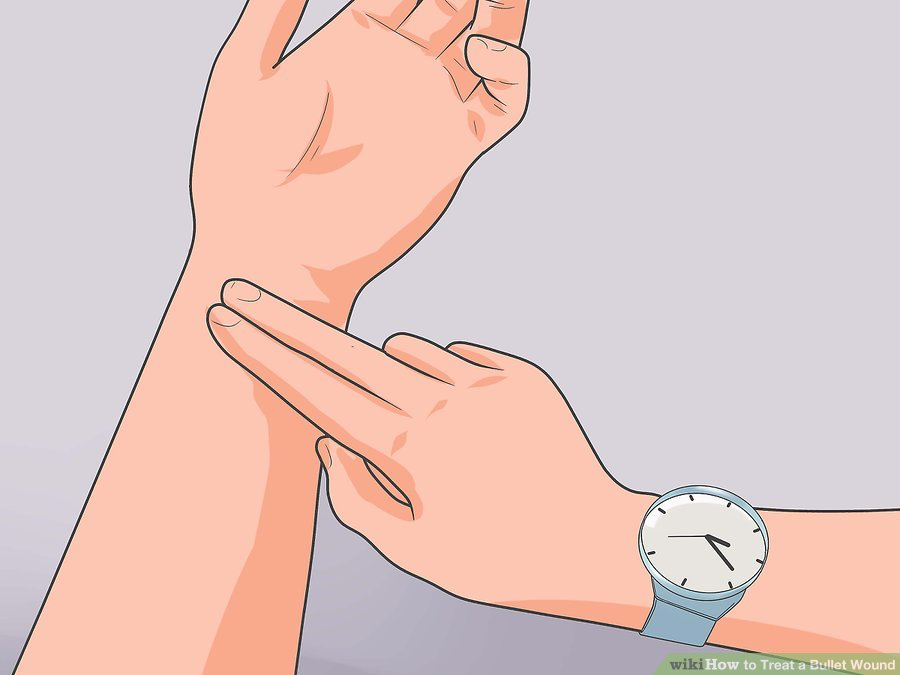
4. Check circulation
Apply pressure to any bleeding, then check the victim's pulse at the wrist or throat. Does the victim have a discernible pulse? If not, begin CPR. Control any major bleeding.
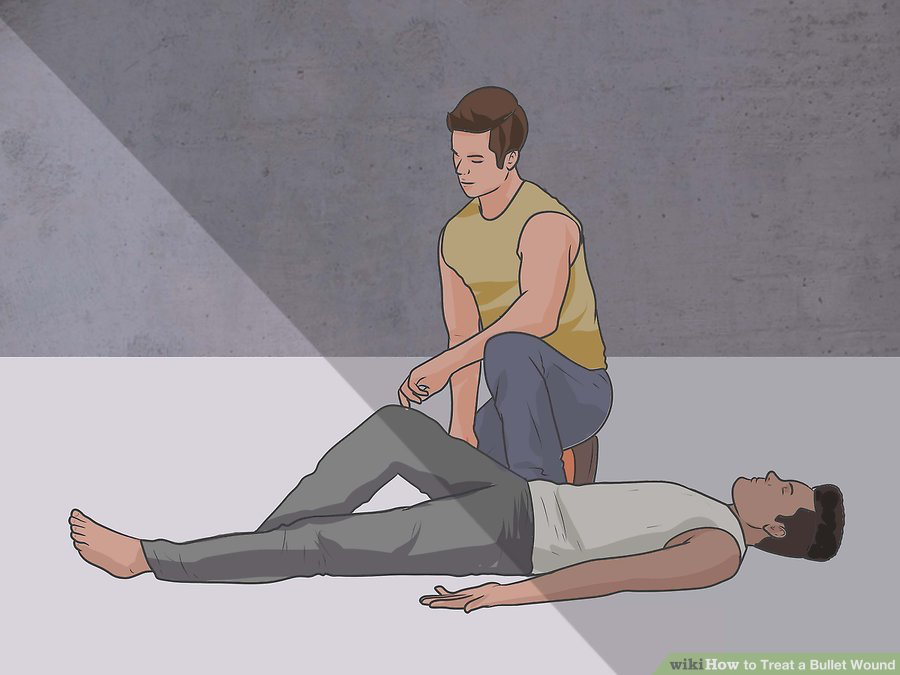
5. Look for disability
Disability refers to damage to the spinal cord or neck. Check to see if the victim can move his hands and feet. If not, there may be an injury to the spinal cord. Look for compound or obvious fractures, dislocations, or anything that looks out of place or unnatural. If the victim shows signs of disability, you should refrain from moving him or her.
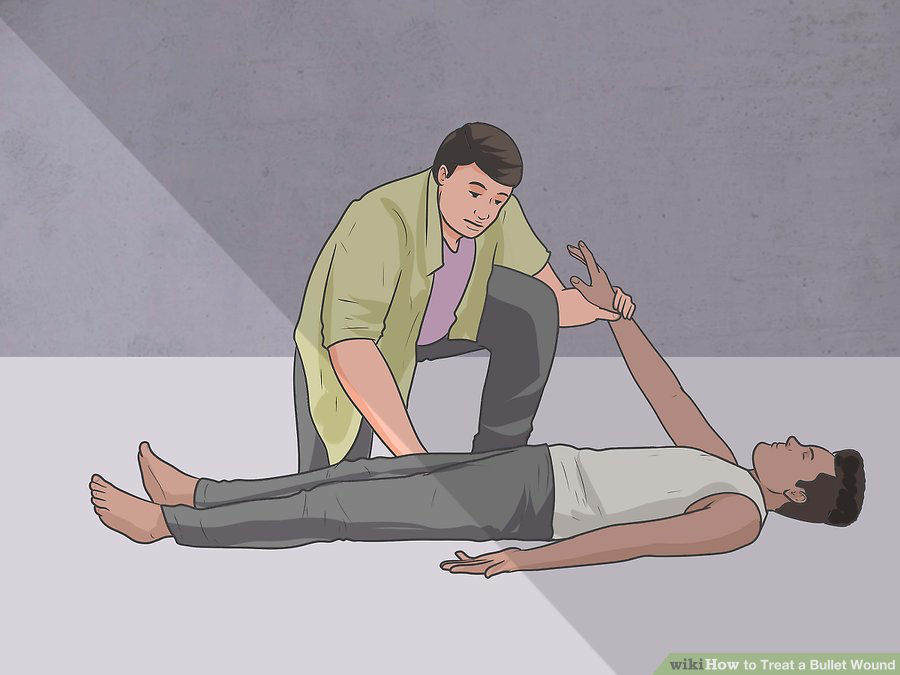
6. Check for exposure
Look for an exit wound. Check the victim as thoroughly as possible for other wounds that you may be unaware of. Pay special attention to the armpit, buttocks or other difficult-to-see areas. Avoid completely undressing the victim before emergency help arrives as this may advance shock.
Part 3: Treating a Wound in the Arms or Legs
1. Elevate the limb and apply direct pressure to the wound
Carefully assess the situation to determine that there is no sign of disability or any wounds that would suggest the victim sustained a spinal injury. If this is the case elevate the limb above the heart to reduce blood flow. Apply direct pressure to stop bleeding as described above.
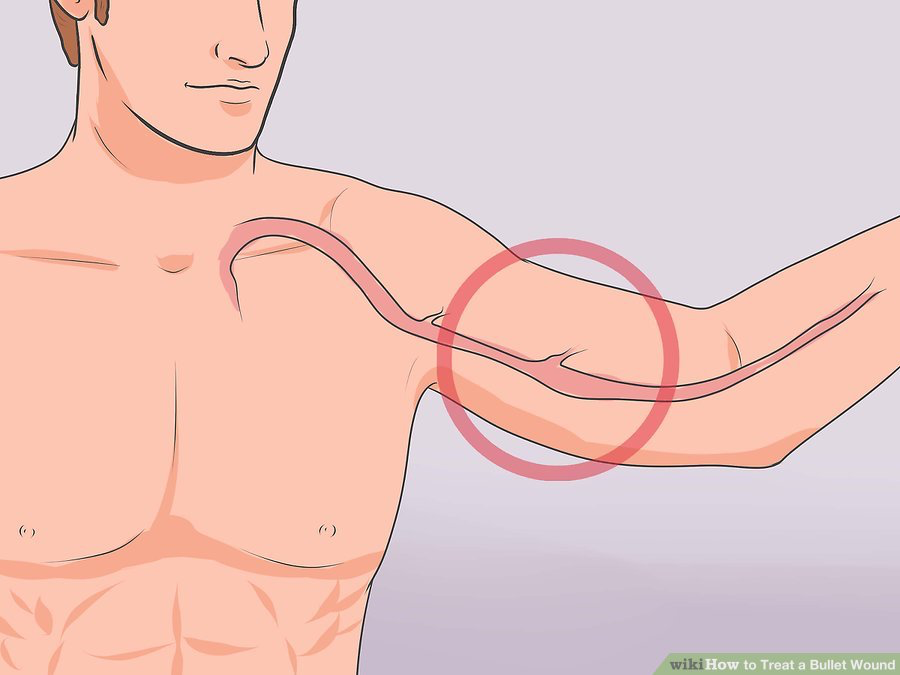
2. Apply indirect pressure
In addition to direct pressure, it is also possible to apply indirect pressure for limb injuries to limit the blood flow to the wound. This is done by putting pressure on arteries or, as they are sometimes called, pressure points. They will feel like particularly large and hard veins. Applying pressure to them will limit internal bleeding, but you need to apply pressure to verify that the artery applies to the wound.
- To slow blood flow to the arm, press on the brachial artery on the inner side of the arm, opposite the elbow.
- For groin or thigh injuries, apply pressure to the femoral artery, between the groin and the upper thigh. This one is particularly large. You will have to use the entire heel of your hand to reduce circulation.
- For lower leg wounds, apply pressure to the popliteal artery, behind the knee.
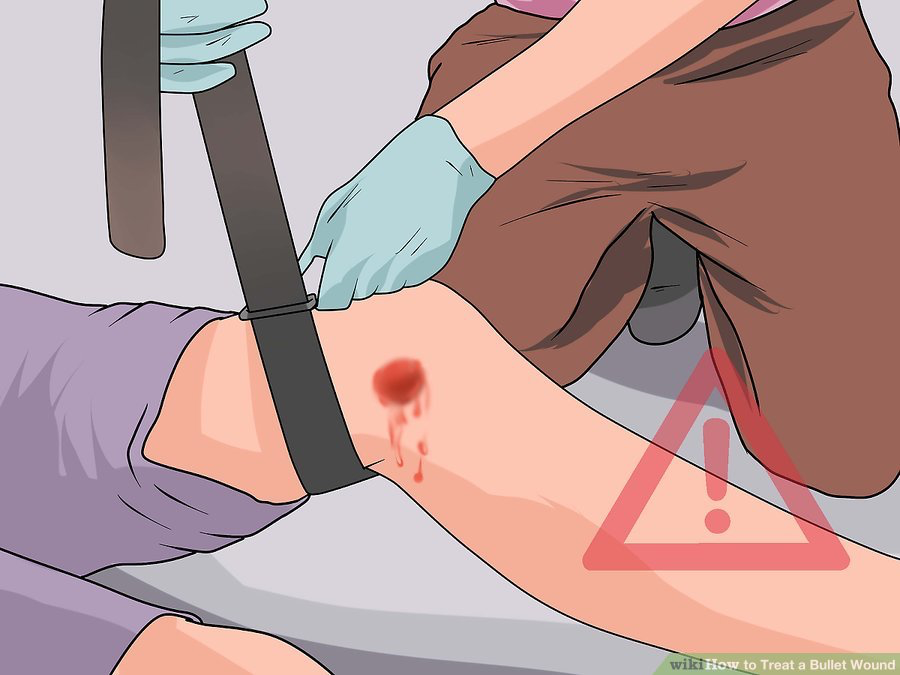
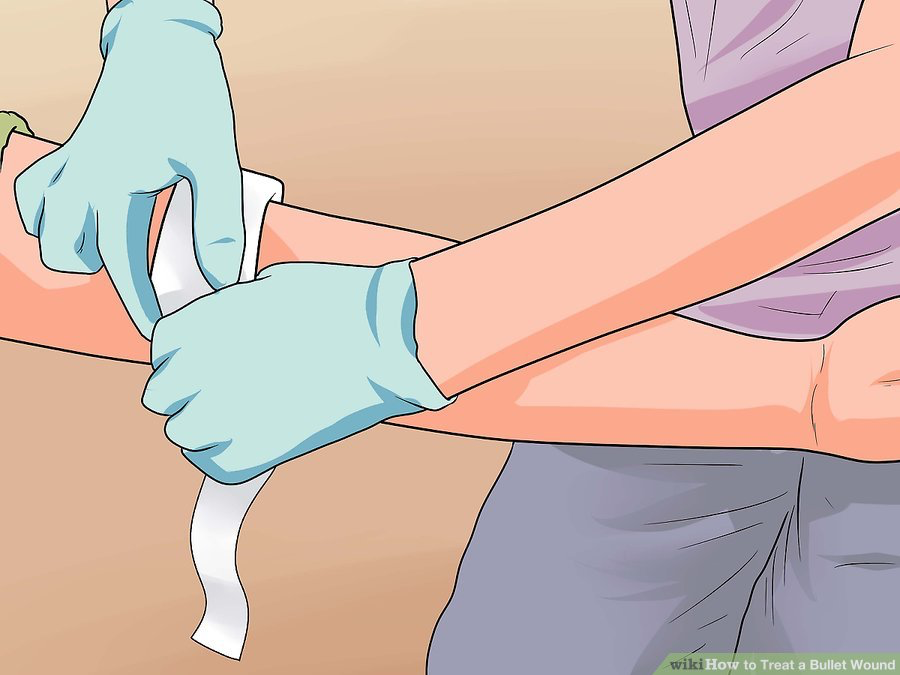
3. Make a Tourniquet
The decision to apply a tourniquet should not be taken lightly because it might result in loss of limb. But if the bleeding is extremely severe and you have bandage or fabric on hand you can, consider making a tourniquet.
- Wrap bandage tightly around the limb, between the wound and the heart, as close to the wound as possible. Wrap around limb several times and tie a knot. Leave enough fabric to tie a second knot around a stick. Twist stick to restrict blood flow.
Part 4: Treating a Sucking Chest Wound
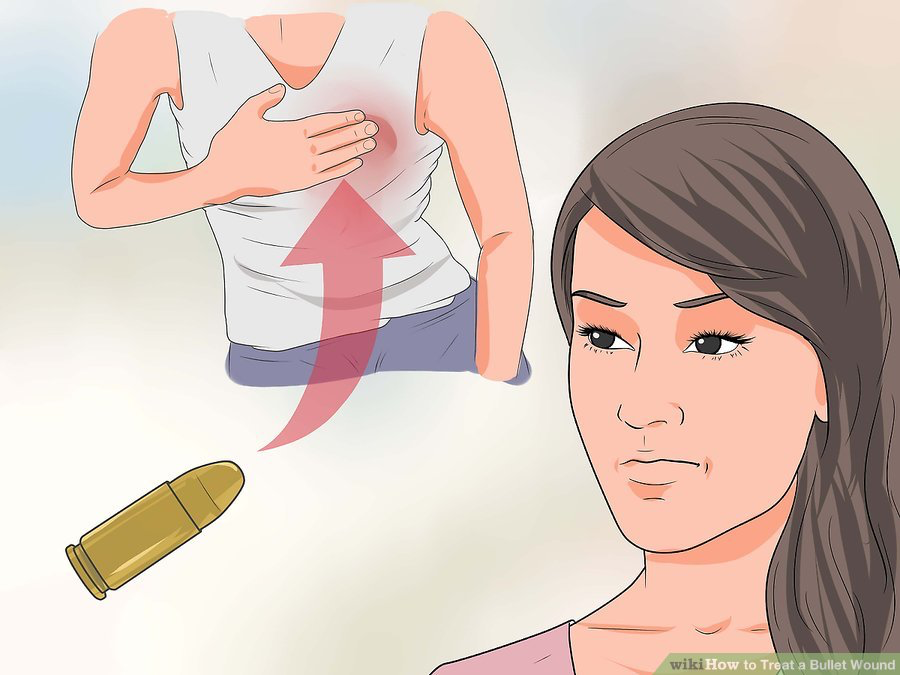
1. Recognize a sucking chest wound
If a bullet has penetrated the chest, it is probable that a sucking chest wound exists. Air is coming in through the wound, but not coming out, collapsing the lung. Signs of a sucking chest wound include a sucking sound emanating from the chest, coughing up blood, frothy blood coming from wound, and shortness of breath. When in doubt, treat the wound as a sucking chest wound.
2. Find and expose wound
Look for the wound. Remove clothes from wound. If some fabric is stuck to the wound, cut around it. Determine if there is an exit wound and if so apply procedure to both sides of the victim's wound.
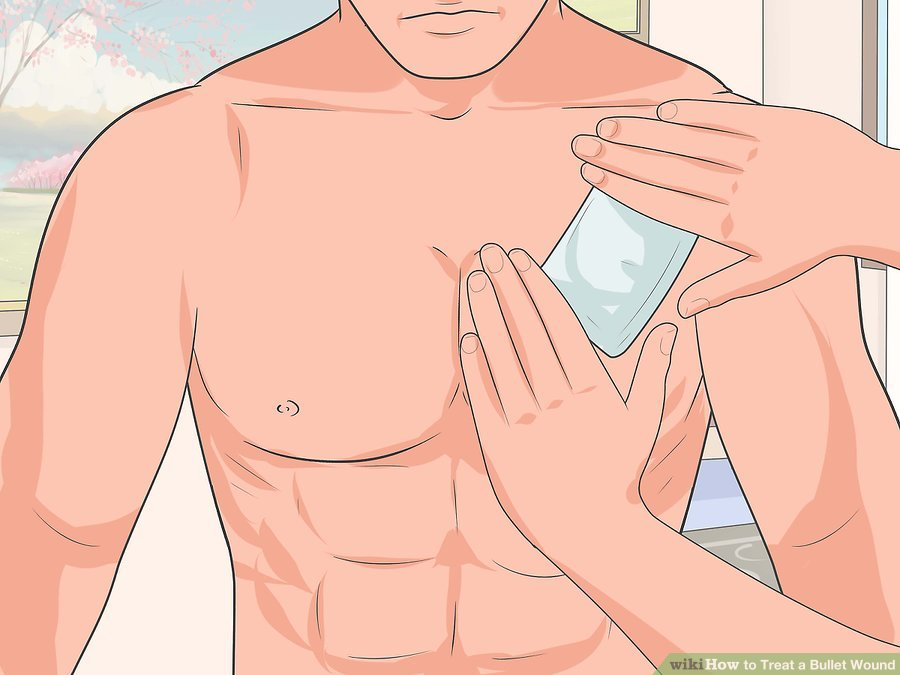
3. Seal the wound on three sides
Take airtight material, plastic is best, and tape it around the wound, covering all sides except for the bottom corner. Oxygen will escape from this hole.
- As you seal the wound, encourage the patient to completely exhale and hold his or her breath. This will force air out of the wound before you seal it.
4. Apply direct pressure to both sides of the wound
It is possible to do this with two pads over each wound, held very tightly in place by a wrapped bandage.
5. Carefully monitor the patient's breathing
You can do this by talking to the conscious patient, or watching the chest rise and fall.
- If there is evidence of respiratory failure (stopping breathing), reduce pressure on the wound to allow the chest to rise and fall.
- Prepare to perform rescue breathing.
6. Do not release pressure or remove the seal you made when medical assistance arrives.
They will either use your seal or replace it with a better one.
_______________________________________________________________________________________________________________________
Are you a healthcare practitioner who enjoys patient education, interaction and communication?
If so, we invite you to criticise, contribute to or help improve our content. We find that many practicing doctors who regularly communicate with patients develop novel and often highly effective ways to convey complex medical information in a simplified, accurate and compassionate manner.
MedSquirrel is a shared knowledge, collective intelligence digital platform developed to share medical expertise between doctors and patients. We support collaboration, as opposed to competition, between all members of the healthcare profession and are striving towards the provision of peer reviewed, accurate and simplified medical information to patients. Please share your unique communication style, experience and insights with a wider audience of patients, as well as your colleagues, by contributing to our digital platform.
Your contribution will be credited to you and your name, practice and field of interest will be made visible to the world. (Contact us via the orange feed-back button on the right).
Disclaimer:
MedSquirrel is a shared knowledge, collective intelligence digital platform developed to share medical knowledge between doctors and patients. If you are a healthcare practitioner, we invite you to criticise, contribute or help improve our content. We support collaboration among all members of the healthcare profession since we strive for the provision of world-class, peer-reviewed, accurate and transparent medical information.
MedSquirrel should not be used for diagnosis, treatment or prescription. Always refer any questions about diagnosis, treatment or prescription to your Doctor.